First things first, let’s gather up everything you’ll need.
What You’ll Need
- Your new dash cam (of course!) Make sure it comes with all the necessary cables and mounts.
- A microSD card. This is where your footage will be stored. Think of it like the film in an old-school camera.
- A trim removal tool. This handy little gadget helps you pry open panels in your car without damaging them. You can usually find one at an auto parts store.
- Some zip ties or cable clips. These will help you keep those pesky wires organized and out of the way.
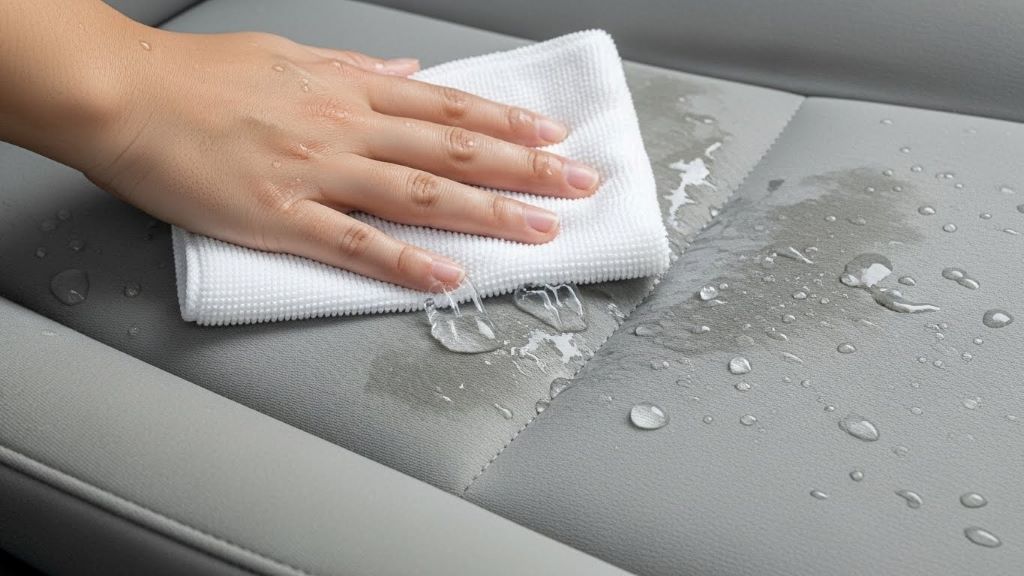
- A microfiber cloth. Clean your windshield before mounting the camera.
Got everything? Great! Now let’s dive into the installation process.
Installing the Front Camera
Positioning Your Front Camera
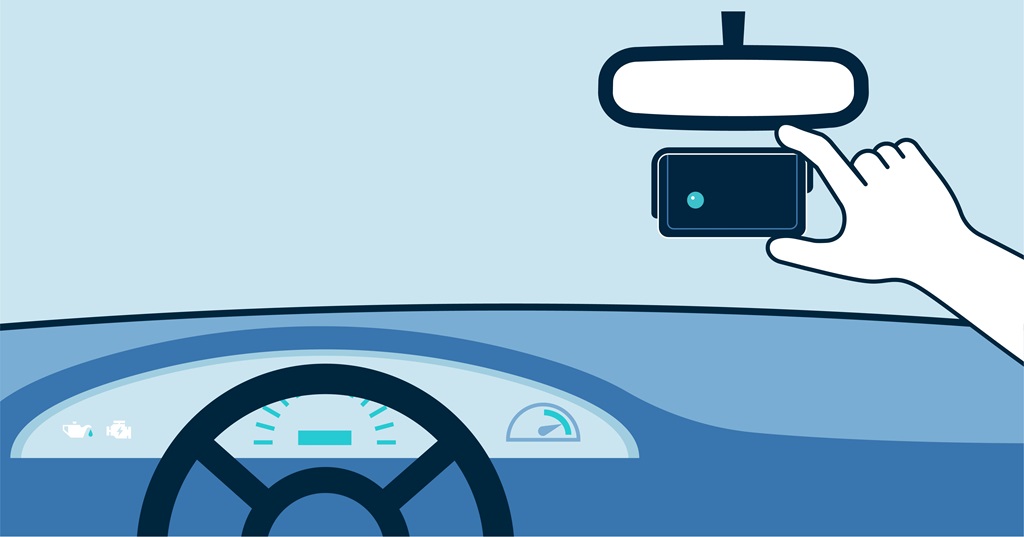
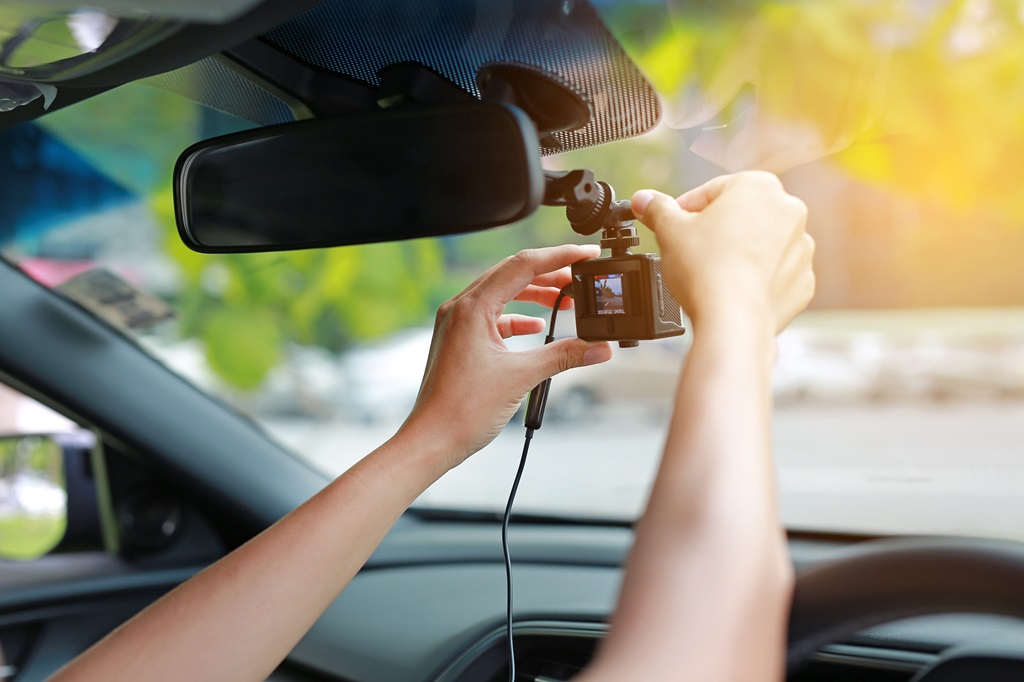
This is the first big decision. Where do you want to put your front camera? Most people like to mount it behind the rearview mirror. This keeps it out of your line of sight while still giving you a clear view of the road ahead.
Think of it like finding the perfect spot for a security camera in your house – you want it hidden but effective.
Cleaning the Windshield
Before you stick anything to your windshield, give it a good clean with your microfiber cloth. Any dust or grime will make it harder for the adhesive to stick.
Imagine trying to put a sticker on a dirty window – it just won’t hold!
Mounting the Front Camera
Now, carefully attach the mount to your windshield according to the instructions that came with your dash cam. Usually, this involves peeling off a protective film and pressing the mount firmly against the glass.
It’s like putting a screen protector on your phone – you want to make sure there are no bubbles!
Connecting the Power Cable
Most dash cams plug into your car’s 12V outlet (also known as the cigarette lighter). Route the power cable along the edge of your windshield and down to the outlet. Use your trim removal tool to tuck the cable behind the trim panels for a neat and tidy look.
Think of it like hiding the cords behind your TV – you don’t want a messy tangle of wires!
Installing the Rear Camera
Now, let’s move on to the rear camera. This little guy gives you a view of what’s happening behind your car, which can be super helpful in case of a rear-end collision.
Routing the Rear Camera Cable
This is where things can get a bit more involved. You’ll need to run the cable from the front camera all the way to the back of your car. Don’t worry, though, it’s totally doable!
Start by routing the cable along the headliner (the fabric-covered panel on the ceiling of your car). Use your trim removal tool to gently pry open the headliner and tuck the cable underneath.
Imagine you’re a tiny electrician, carefully wiring a miniature house!
Running the Cable Through the Trim
Continue routing the cable along the side trim panels, working your way toward the back of the car. Again, use your trim removal tool to help you tuck the cable out of sight.
Think of it like threading a needle – it takes a bit of patience and finesse, but you’ll get there!
Mounting the Rear Camera
Once you’ve reached the back of your car, it’s time to mount the rear camera. Most people like to mount it on the rear windshield, just below the roofline. Clean the windshield with your microfiber cloth and attach the camera mount.
It’s like finding the perfect spot for a rearview mirror – you want it to give you a clear view without obstructing your vision.
Connecting the Rear Camera
Finally, connect the rear camera cable to the front camera. Give both cameras a quick test to make sure they’re working properly.
It’s like plugging in a new appliance – you want to make sure it turns on before you put everything away!
Tips for a Clean Installation
- Take your time. Don’t rush the installation process. It’s better to go slow and do it right the first time.
- Use zip ties or cable clips to keep the wires organized. This will prevent them from dangling and getting in the way.
- Tuck the cables behind the trim panels for a neat and tidy look. No one wants to see a bunch of wires hanging down from their dashboard.
- Test the cameras before you put everything back together. This will ensure that they’re working properly and that you’re happy with the camera angles.
Why a Dash Cam is a Smart Investment
You might be thinking, “Do I really need a dash cam?” And the answer is a resounding YES! Here’s why:
- Evidence in case of an accident. A dash cam can provide valuable evidence if you’re ever involved in a car accident. It’s like having an unbiased witness who can tell the true story of what happened.
- Protection against insurance fraud. Unfortunately, there are people out there who stage accidents in order to file fraudulent insurance claims. A dash cam can help protect you from these scams.
- Peace of mind. Knowing that you have a dash cam recording your every move can give you peace of mind on the road. It’s like having a guardian angel watching over you.
Related: SXhyf Rear View Mirror Phone Holder (2024)
Choosing the Right Dash Cam
Now that you know how to install a dash cam, let’s talk about how to choose the right one for you. There are a lot of different dash cams on the market, so it’s important to do your research before you buy.
Important Features to Consider
- Video quality. Look for a dash cam that records in at least 1080p resolution. This will ensure that your footage is clear and detailed.
- Field of view. The wider the field of view, the more of the road the camera will capture.
- Night vision. If you do a lot of driving at night, you’ll want a dash cam with good night vision capabilities.
- GPS. A dash cam with GPS can track your location and speed, which can be helpful in case of an accident.
- Parking mode. Some dash cams have a parking mode that will record even when your car is turned off. This can be helpful if someone hits your car while it’s parked.
Beyond the Basics: Advanced Dash Cam Features
Once you’ve got the basics down, you might want to explore some of the more advanced features that dash cams offer.
Here are a few to consider:
- Lane departure warning. This feature can alert you if you start to drift out of your lane.
- Forward collision warning. This feature can warn you if you’re about to hit the car in front of you.
- Driver fatigue monitoring. This feature can detect signs of driver fatigue and suggest that you take a break.
- Built-in Wi-Fi. This allows you to easily transfer footage to your smartphone or computer.
- Cloud storage. Some dash cams offer cloud storage, which means your footage is automatically backed up to the cloud.
Think of these features like the extra options you get on a new car – they can make your driving experience safer and more convenient.
Dash Cam Installation: Troubleshooting
Okay, so you’ve followed all the steps, but your dash cam isn’t working.
Don’t panic! Here are a few things to check:
- Is the camera plugged in properly? Make sure the power cable is securely plugged into both the camera and the 12V outlet.
- Is the microSD card inserted correctly? Make sure the microSD card is properly inserted into the camera.
- Is the camera turned on? Some cameras have a power button that needs to be pressed to turn them on.
- Have you formatted the microSD card? Some cameras require you to format the microSD card before they can record.
If you’re still having trouble, consult the user manual for your specific dash cam model.
Taking Care of Your Dash Cam
Once you’ve got your dash cam installed, it’s important to take care of it. Here are a few tips:
- Clean the lens regularly. A dirty lens can affect the quality of your footage.
- Format the microSD card regularly. This will help prevent errors and ensure that your camera can continue to record.
- Check the camera settings periodically. Make sure the date and time are correct, and that the camera is recording at the desired resolution.
- Update the firmware if necessary. Manufacturers often release firmware updates that can improve the performance of your camera.
Think of it like taking care of your car – regular maintenance will help keep it running smoothly for years to come.
Related: Car Seat Gap Filler Organizer
Dash Cam Etiquette
Finally, let’s talk about dash cam etiquette. Here are a few things to keep in mind:
- Respect privacy. Don’t share footage of other people without their consent.
- Be mindful of where you mount your camera. Make sure it’s not obstructing your view or distracting you while you’re driving.
- Use your footage responsibly. Don’t use your dash cam footage to blackmail or harass other people.
Remember, a dash cam is a powerful tool that should be used responsibly.
Conclusion
Installing a dash cam might seem like a daunting task, but it’s actually quite simple. By following the steps in this guide, you can easily install a dash cam in your car and enjoy the peace of mind that comes with it. Remember to choose the right dash cam for your needs, take care of it properly, and use it responsibly. Happy driving!

