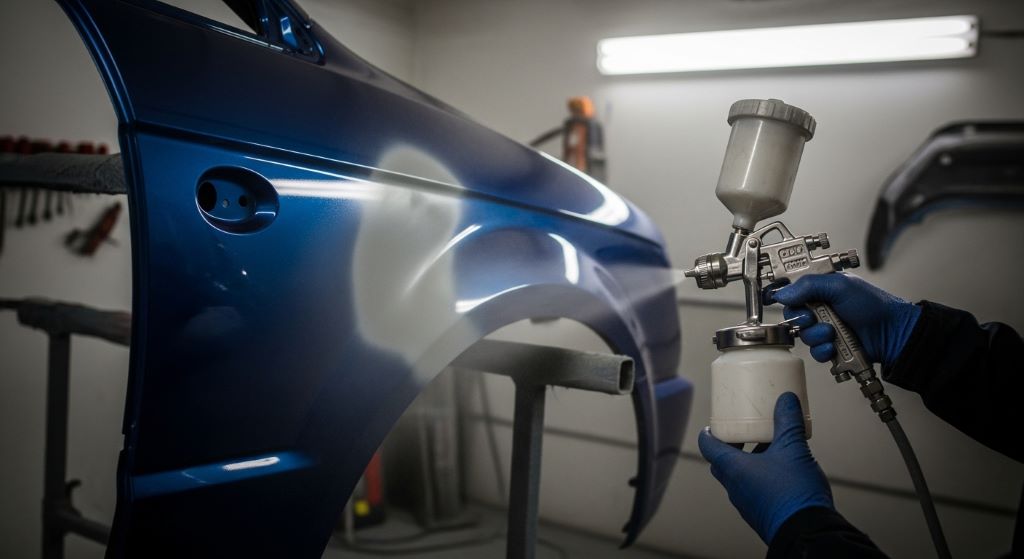
Clear coat is the final layer of paint protection on your car. It gives your vehicle that deep, glossy shine. However, over time, it can fade, scratch, or develop swirl marks. Polishing it back to life is not as hard as it sounds. With the right automobile polishing pads and a little know-how, you can restore your car’s finish safely and effectively.
This guide walks you through every step. Whether you are a first-timer or someone looking to sharpen their technique, you will find practical advice here.
Understanding Clear Coat and Why It Needs Special Care
Clear coat is not just regular paint. It is a transparent layer applied over the base coat to protect the color underneath. This layer is typically 40 to 60 microns thick. That may sound like a lot, but it is very thin when you consider the pressure involved in polishing.
Because of its delicate nature, clear coat requires a gentler approach than older single-stage paint. Applying too much pressure or using the wrong pad can burn through it. Once clear coat is gone, you cannot polish your way back. Therefore, understanding what you are working with before you start is essential.
Clear coat damage usually appears as light swirl marks, water spots, oxidation, or fine scratches. Most of these issues sit at the very surface of the clear coat and can be corrected with the right polish and pad combination.
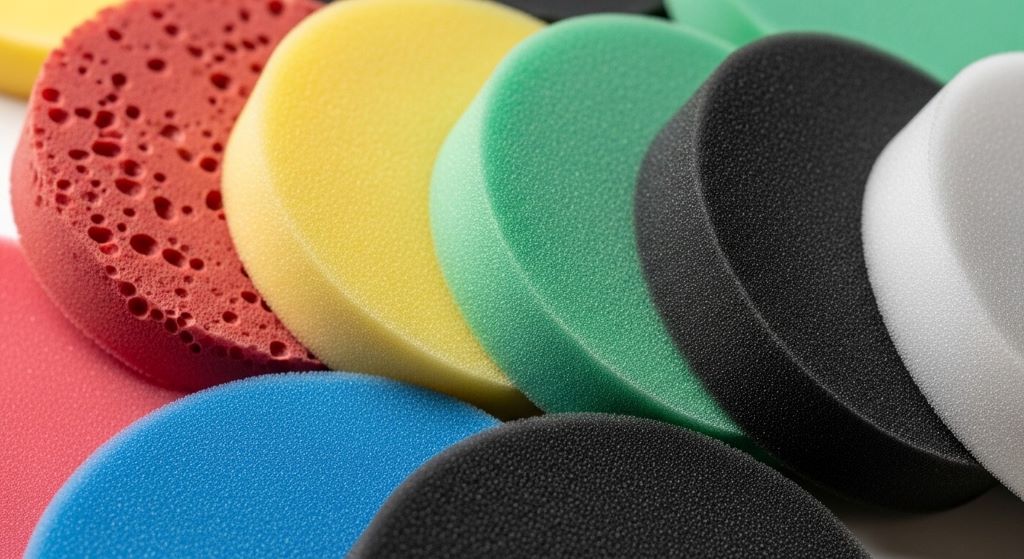
Choosing the Right Automobile Polishing Pads
Not all polishing pads are created equal. The pad you choose will have a significant impact on the final result. There are three main types of foam pads you will commonly encounter.
Cutting pads are the most aggressive. They are typically made from firm, open-cell foam and are designed to remove heavier scratches and oxidation. However, they can generate heat quickly, so you must use them with care on clear coat.
Polishing pads are medium-density foam pads. They are a great middle ground. They remove light to moderate defects while also refining the surface. Most detailers reach for a polishing pad first when working on clear coat.
Finishing pads are the softest option. They are used to apply glaze or sealant, or to remove light haze left behind by polishing. They produce very little cut and are safe for even the most sensitive finishes.
Additionally, microfiber pads have gained popularity in recent years. They cut faster than foam at lower speeds, which generates less heat. They are a solid choice for clear coat work, especially for beginners.
When in doubt, start with the least aggressive pad. You can always move up if needed.
Gathering Your Supplies Before You Start
Preparation makes a big difference. Having everything within reach before you begin helps you work more efficiently and avoid mistakes. Here is what you will need:
- A dual-action (DA) polisher or rotary polisher
- Foam or microfiber polishing pads in varying grades
- A quality car polish appropriate for clear coat
- A panel wipe or isopropyl alcohol (IPA) solution
- Clean microfiber towels
- Masking tape for protecting trim and edges
- Adequate lighting such as a portable LED work light
- Nitrile gloves to protect your hands
A dual-action polisher is the safest choice for beginners. It oscillates and rotates at the same time, which significantly reduces the risk of burning through the clear coat. A rotary polisher cuts faster but requires more skill to use safely.
Preparing the Surface Properly
Preparation is the most important part of the polishing process. Skipping this step leads to poor results and can even cause more damage.
Start by washing the car thoroughly. Any dirt, grit, or debris on the surface can scratch the clear coat during polishing. Use a high-quality car wash soap and a microfiber wash mitt.
After washing, dry the car completely. Then clay bar the entire vehicle. A clay bar removes bonded contaminants like industrial fallout, tree sap, and road tar that washing alone cannot remove. These contaminants will clog your pad and diminish your results if left on the surface.
Once the surface is clayed and dry, wipe it down with isopropyl alcohol diluted to about 70 percent. This removes any wax or sealant residue that could interfere with the polish. Work in small sections and use clean microfiber towels.
Furthermore, apply masking tape along rubber trim, plastic panels, and any sharp body lines. Polish can stain porous trim and is difficult to remove. Tape also protects the edges of your paint, which are the thinnest parts of the clear coat.
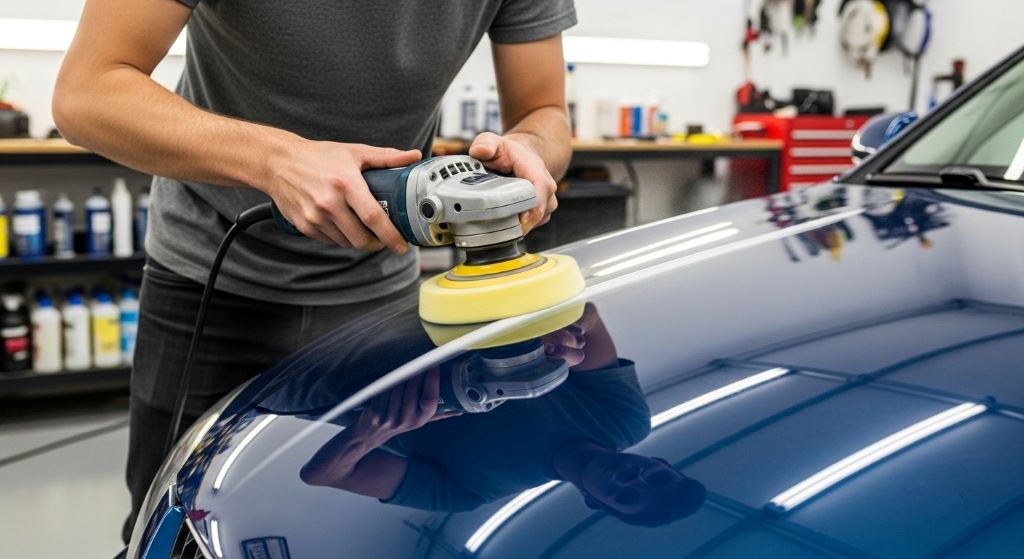
Setting Up Your Polisher Correctly
Before you turn on the machine, prime your pad. Apply three to five pea-sized dots of polish evenly across the face of the pad. Then spread the polish across a small section of paint by moving the pad back and forth before turning the machine on. This prevents the polish from being flung off when the machine starts.
Set your dual-action polisher to a low speed setting for spreading. Once the polish is spread, increase the speed to your working speed. For most DA polishers, a speed of five to six out of ten is effective for light correction on clear coat.
Keep the polisher flat against the surface. Tilting it at an angle concentrates pressure on one edge of the pad and can cause uneven polishing or even burn through. Work in straight overlapping passes, not circles. Straight passes are more controlled and easier to track.
The Polishing Process Step by Step
Work on one section at a time. A good section size is roughly two feet by two feet. Smaller sections give you more control and allow the polish to work more effectively before it dries out.
Begin with light pressure. Let the machine and the pad do the work. Applying extra downward pressure does not improve results. Instead, it generates excess heat and can damage the clear coat.
Make four to six overlapping passes horizontally, then four to six passes vertically over the same area. This cross-hatch pattern ensures even coverage. After completing your passes, slow the machine to the lowest speed and do a final light buffing pass to break down any remaining polish residue.
Turn the machine off before lifting it from the panel. This prevents the pad from flinging polish onto surrounding areas.
Immediately wipe off the residue with a clean microfiber towel. Fold the towel into quarters and use a light flipping motion. Then use a second clean towel for a final wipe. Inspect the area under your LED light at different angles. This reveals any remaining defects, haze, or high spots.
If defects remain, repeat the process. However, limit yourself to no more than three passes over any given area in a single session to avoid removing too much clear coat.
Monitoring Heat and Avoiding Common Mistakes
Heat is the enemy of clear coat when polishing. Friction generates heat, and too much of it will soften the clear coat, cause swirl marks, or even burn through it entirely.
Touch the panel with the back of your hand periodically. If it feels hot to the touch, stop and let it cool before continuing. Work in the shade whenever possible. Polishing in direct sunlight causes the polish to dry too quickly and makes it harder to work with.
Never polish on a hot panel. If the car has been sitting in the sun, park it in the shade and let it cool for at least 20 minutes before starting.
Another common mistake is using a dirty or clogged pad. A pad loaded with dried polish loses its ability to cut evenly and can cause marring. Clean your pad regularly with a pad conditioning brush during the process. Replace the pad if it becomes heavily saturated.
Additionally, avoid using too much product. More polish does not mean better results. Excess product simply wastes material and makes cleanup harder.
Finishing Up and Protecting Your Work
Once polishing is complete and you are satisfied with the results, it is time to protect the surface. Polish does not provide lasting protection on its own. Without a sealant or wax, the clear coat will be exposed to UV rays, moisture, and contaminants.
Apply a paint sealant or carnauba wax using a clean finishing pad or a soft applicator. Allow it to cure according to the product instructions, then buff it off with a fresh microfiber towel. This step locks in the shine and provides a protective barrier for the clear coat.
For even longer protection, consider applying a ceramic coating after polishing. Ceramic coatings bond to the clear coat and can last for years with proper maintenance.
Conclusion
Polishing clear coat safely comes down to preparation, patience, and using the right tools. Start by understanding your clear coat and choosing the appropriate pad for the job. Prepare the surface thoroughly before you begin. Use a dual-action polisher with controlled speed and light pressure. Work in small sections and monitor heat carefully throughout the process. Finally, protect your work with a quality sealant or wax.
With these steps, you can restore your car’s finish to a showroom-quality shine without risking damage to the clear coat. The process takes time, but the results are well worth the effort.
Frequently Asked Questions
Can I polish clear coat by hand instead of using a machine?
Yes, you can polish clear coat by hand using a foam applicator or hand polishing pad. However, machine polishing delivers faster, more consistent results. Hand polishing is better suited for small touch-up areas or light surface defects.
How often should I polish my car’s clear coat?
Most cars benefit from polishing once or twice a year. Polishing too frequently removes more clear coat each time, which can thin it out over years. Between polishing sessions, maintain the finish with regular washing and a quality wax or sealant.
What is the difference between a cutting compound and a car polish?
A cutting compound is more abrasive and is used to remove deeper scratches, heavy oxidation, or severe swirl marks. A car polish is less aggressive and is used for lighter correction and refining the finish. Always start with the least aggressive product needed.
Will polishing remove deep scratches in clear coat?
Polishing can only remove scratches that sit within the clear coat layer. If a scratch has penetrated into the base coat or primer, polishing will not fix it. Those deeper scratches typically require touch-up paint or a professional respray.
Is a dual-action polisher safe for beginners?
Yes, a dual-action polisher is widely considered the safest option for beginners. Its oscillating movement reduces heat buildup and makes it much harder to burn through clear coat compared to a rotary polisher. It is highly recommended for anyone new to machine polishing.
Related Topics:
Why Does My Truck Shake When I Brake? (5 Expert Reasons and Solutions)
How to Remove Deep Scratches from Car at Home