Admitting that there is a deep scratch on one’s vehicle could be disappointing. But do not panic, you do not need to book an appointment with the specialists for this and stress yourself with the bills. This is because, with the necessary materials and a little patience, one can achieve this on their own from the convenience of their home. Let’s dive into a step by step guide on how to remove deep scratches from car and what tools to utilize As this process does not only require reasonable skills but also proper planning, patience is essential.
Understanding the Depth of Deep Scratches
Before we get into the nitty-gritty, it’s important to understand the different types of scratches your car might have. This helps you to know the method that will be appropriate in carrying out repairs.

Clear Coat Scratches Owed
These occur on the top surface of the car paint work. They often emerge when there is friction between the car and a mild force like a tree mosquito, another car, or people’s hands.
Paint Scratches
These scratches go deeper than the clear coat and some of them reach the paint layer. Such scratches can be considered conspicuous and there appears to be major solutions in the status.
Deep Scratches
Among the most advanced scratches, are those that go all the way through the clear coat and paint and even the primer, exposing the base metal. Out of all the scratches, these are the most acute and need the most attention.
Tools and Materials You’ll Need
Before you begin, grab the following tools and materials:
- Car wash shampoo and water – spongy lather is great
- Soft towels made of rich microfibers
- Sandpaper (grits 2000, 3000 and 5000)
- Scotch tape
- Touch up paint (in the same color as walls of your car)
- Paint
- Clear coat
- Rubbing paste
- Wax polish
- Dual-action mechanical polisher (optional)
Step-by-Step Guide to Removing Deep Scratches
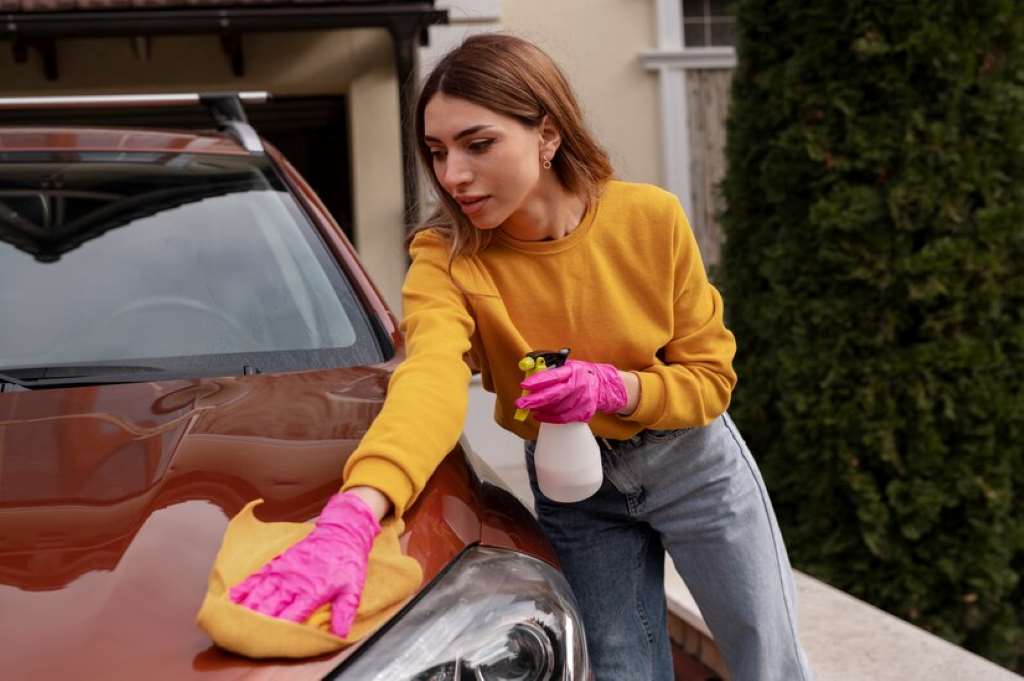
Step 1: Clean the Area
Firstly use car wash soap and water to wash the scratched area. This helps in removing any dirt that is present which could infuriate new scratches while repairing the some more scratches. Pat dry the area with foldable microfiber cloths after drying it thoroughly.
Step 2: Sand the Scratch
Use sandpaper of 2000-grit to sand the scratch that you have made. Apply sandpaper and reproducibly sand, circular motions are preferred, and the pressure applied is kept light. This provides the smoothing of the scratches aparent edges and getting the surfaces ready for the touch-up paint for the scratches. There is no need to over sand as it may damage the paint at the edges of the sanded area inside the scratches.
Step 3: Mask Off the Area
For scratch cover and touch up, use a masking tape to cover the area surrounding the scratch. This ensures that the touch up paint does not smear any other section of the car that has not been damaged.
Step 4: Primer Application
If the scratch is deep enough to cut through the primer to the metal, you’ll need to load a primer. Then use a fine brush to a very small and thin amount of primer onto the scratched part. Let it dry completely before moving on to the next step.
Step 5: Contributor Paint Application
When the primer is dry, perform the touch-up paint application. Use touch. Give a pile of the paint matching the finish of your car. Paint should be done in the form of thin layers, allowing drying of each layer of paint before applying the subsequent layer. This serves to build up the coat and fill up the scratch.
Step 6: Clear Coat Application
When the touch-up paint has dried, a clear coat is to be applied in order to protect the new paint and enhance it with the appearance of the rest of the car. This clear coat also needs to be applied in thin layers and each layer has to dry before the other coat over it is applied.
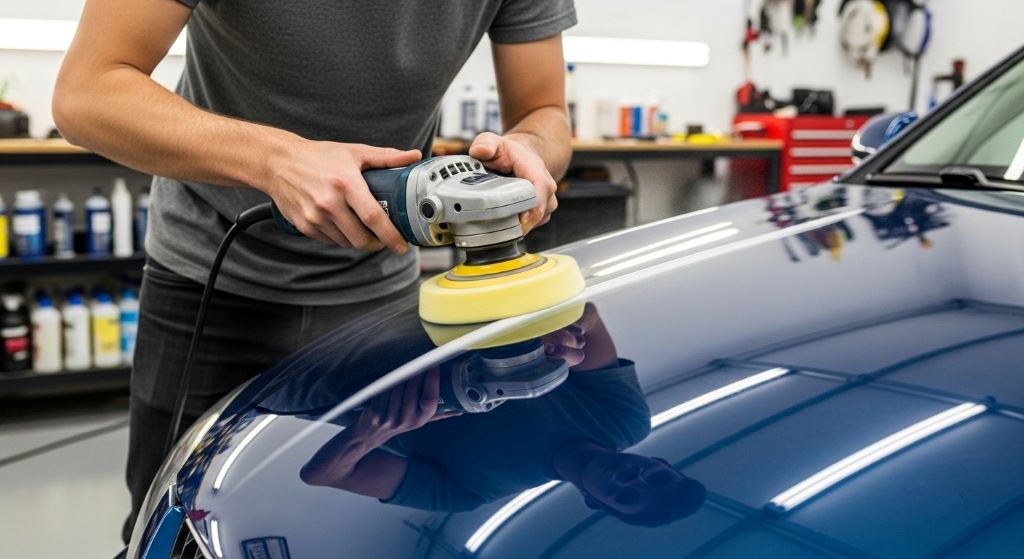
Step 7: Sanding and Polishing
When the clear lacquer is thoroughly dry, take the 3000 grit sand paper and lightly sand the area. Use 5000 grit sandpaper afterwards for surface smoothening. After the area is sanded, polish it with a polishing compound on a microfiber cloth. This is useful in evening out the repaired area with the rest of the car paint.
Step 8: Wax the Area
Lacquer the area which has been repaired, in the last stage. This serves to provide extra protection and also enhance the car’s shine. A dual action polisher is preferable for best results although it can also be done manually.
Tips and Tricks

Match the Paint Color
When completing the repair, you should ensure that you use touch-up paint that corresponds to the car paint color. The paint code is usually available on the VIN plate of your vehicle as well as in the owner’s manual. If you don’t know it, seek the help of a professional.
Take Your Time
It is often observed that when a person is in a hurry to carry out a procedure, errors are made because there is little or no attention to detail. Every procedure should be given its requisite amount of time so as to yield the best quality of the works done.
Test Surface Practice
If you are a beginner at car paint repair, you should practice on a test surface before repairing your car and this is so that you avoid mistakes as you understand the process.
When Readily Attainable Distressing Events Fail
The do it yourself Strategies can sometimes be successful, but in some instances the scratch seems to be too deep or too complicated to repair it all by yourself. In cases when you can’t remove the scratch or you can’t reach the scratched area properly, better let the professionals do it. In such case it is always recommended that professional help should be sought to avoid additional harm.
Conclusion
Deep scratches on your car can be repaired by you at home if only you have the appropriate tools and techniques. With these different strategies to remove deep scratch from car at home you will help in restoring the good looks of your car while saving on costs that would have been incurred if professional help was sought. You just have to be careful and patient when doing that, and if necessary – you will need to prepare a bit beforehand. It’s all worth it because with a little effort, your car will be looking like it has just come off the showroom. Enjoy the repair!