Changing your own oil might sound like a messy, time-consuming task, but what if we told you it could be simple, satisfying, and even kind of fun? With the right tools—like the Hyper Tough Oil Filter Wrench—a DIY oil change becomes a straightforward job anyone can do in their driveway or garage.
This guide will walk you through everything you need to know to confidently and efficiently change your own oil using the Hyper Tough Oil Filter Wrench. We’ll also sprinkle in valuable tips, safety precautions, and real-world advice to save you time and frustration.
Why Choose the Hyper Tough Oil Filter Wrench?
When it comes to DIY car maintenance, having the right tool is half the battle. The Hyper Tough Oil Filter Wrench is a popular choice among car owners and weekend mechanics because of its:
- Durability: Made with high-strength materials that last.
- Adjustability: Can fit multiple oil filter sizes.
- Ease of Use: Designed for one-hand operation, ideal for tight spaces.
- Affordability: Delivers high performance without a high price tag.
Whether you’re a beginner or an experienced DIYer, this tool simplifies one of the most annoying steps in an oil change—removing that stubborn oil filter. Discover Car Wax vs Paint Sealant Differences.
Tools & Supplies You’ll Need
Before we get into the step-by-step guide, gather these essentials:
- Hyper Tough Oil Filter Wrench (adjustable or strap style)
- Socket wrench set or ratchet with oil drain socket
- New engine oil (check your owner’s manual for the correct type)
- New oil filter
- Oil catch pan
- Funnel
- Gloves and safety glasses
- Car jack and jack stands or ramps
- Rag or paper towels
- Oil filter gasket (if not included with your new filter)
Step-by-Step Guide to a DIY Oil Change
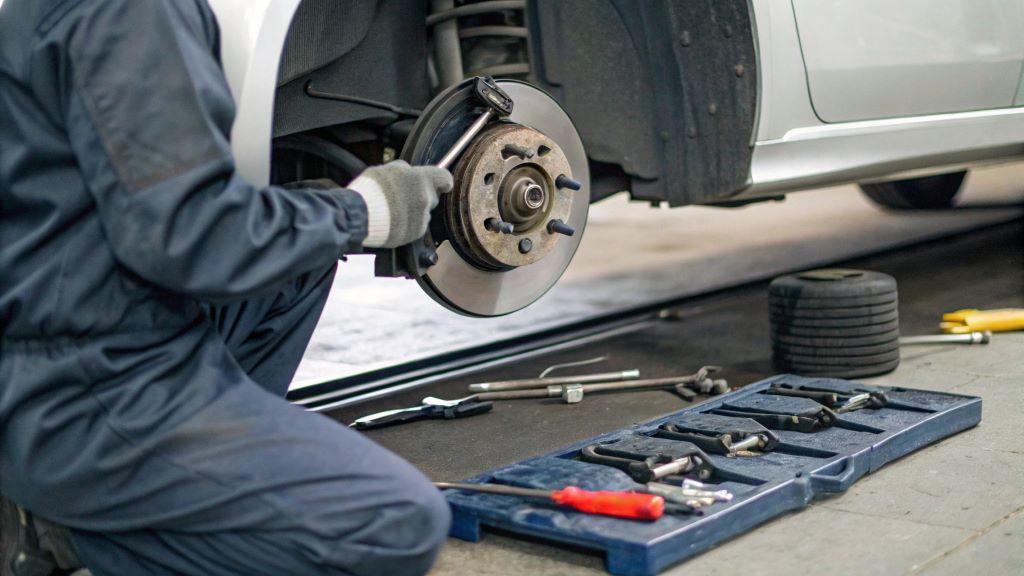
1. Prepare Your Vehicle and Work Area
Start by parking your car on a level surface. Allow the engine to cool down for at least 15–30 minutes. Warm oil drains better than cold oil, but hot oil can be dangerous.
Tip: Always use jack stands if lifting your car. Never rely solely on a jack for safety.
2. Locate the Oil Filter and Drain Plug
Consult your vehicle’s manual to find the exact locations of the oil drain plug and oil filter. Most are easily accessible from beneath the car.
Place the oil catch pan directly under the drain plug.
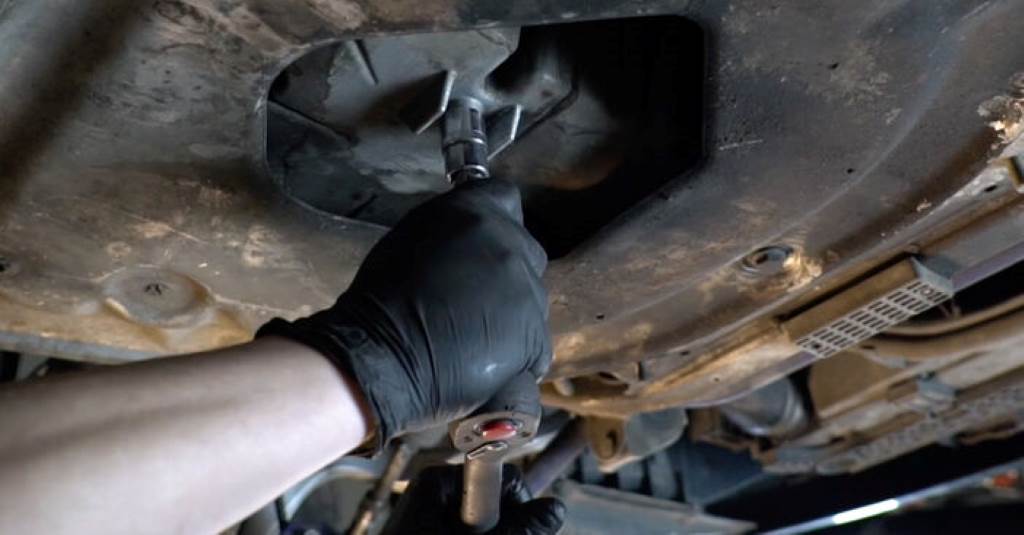
3. Drain the Old Oil
Use a socket wrench to loosen the drain plug. Carefully remove it by hand and let the old oil fully drain into the pan.
Pro Tip: Keep the plug in your hand as it comes out to avoid dropping it into the oil pan.
Once drained, wipe the plug clean and reinsert it. Tighten firmly—but don’t over-torque.
4. Remove the Old Oil Filter (Here’s Where the Hyper Tough Wrench Shines)
Oil filters can be surprisingly stubborn. That’s where your Hyper Tough Oil Filter Wrench comes in handy.
- For adjustable band wrenches: Slide the band over the filter and rotate the handle to tighten.
- For 3-jaw style wrenches: Attach it to a ratchet, position over the filter, and turn counterclockwise.
With the right fit, the filter should break free easily.
Caution: Some oil may still be inside the filter. Tilt it carefully as you remove it.
5. Prep the New Filter
Before installing your new oil filter:
- Apply a light coat of fresh oil to the rubber gasket.
- Compare it to the old one to ensure it’s the correct size.
Screw it on by hand until snug. Do not over-tighten; a hand-tight fit is usually perfect.
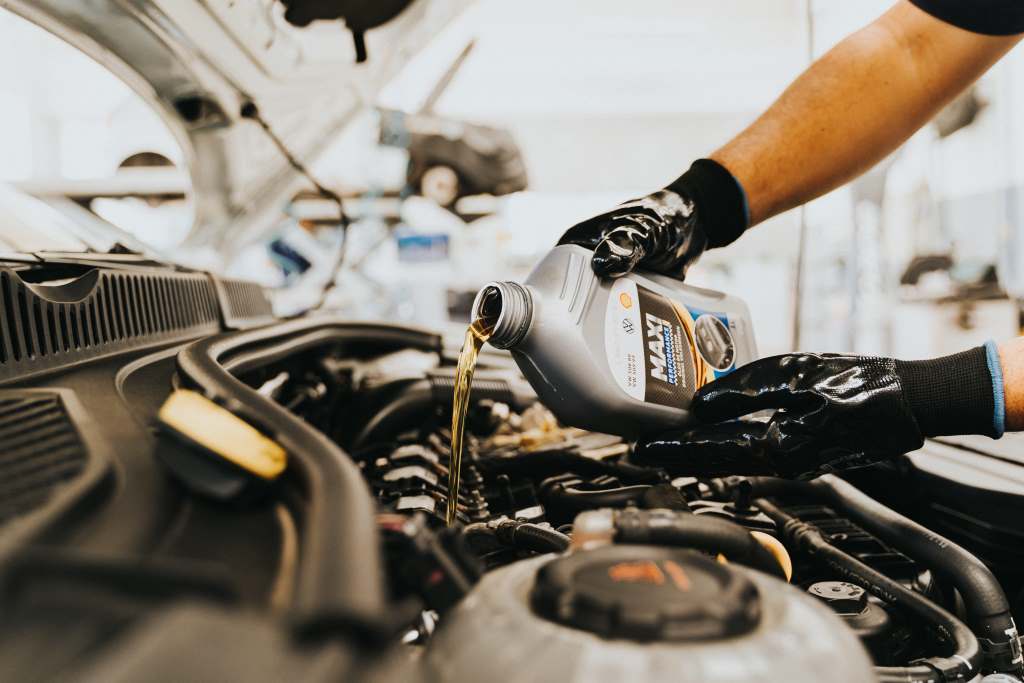
6. Add Fresh Oil
Open the hood and remove the oil filler cap. Place a funnel into the opening and pour in the new oil.
Use your owner’s manual to determine the correct oil type and quantity.
Once filled, replace the cap and start the engine for 30–60 seconds. Then turn it off and check under the car for any leaks.
7. Check Oil Level and Clean Up
After waiting a few minutes, check the dipstick to verify the oil level is correct. Add more if necessary.
Dispose of the old oil and filter properly—most auto parts stores or recycling centers will take used oil for free.
Common Mistakes to Avoid
- Over-tightening: Stripping threads or cracking the filter housing is common.
- Not replacing the oil cap: A surprisingly easy thing to forget!
- Using the wrong oil type: Always double-check your vehicle’s manual.
- Not checking for leaks: Leaking oil can lead to major engine damage if unnoticed.
Helpful Tips for First-Time DIYers
- Do your first oil change during the day with plenty of light.
- Lay out all tools and parts before starting.
- Wear gloves to keep your hands clean and prevent burns.
- Always double-check your oil level after running the engine.
How Often Should You Change Your Oil?
Most experts recommend changing your oil every 3,000 to 7,500 miles, depending on:
- Oil type (synthetic vs. conventional)
- Driving habits
- Vehicle make and model
Check your owner’s manual for specific intervals, and keep a record of each oil change.
Hyper Tough Oil Filter Wrench: Final Verdict
Whether you own a sedan, SUV, or pickup truck, the Hyper Tough Oil Filter Wrench is one of the best DIY tools you can add to your garage.
Its adjustable design means you won’t need a different wrench for every car. It’s also highly rated for ease of use, durability, and price point, making it a smart investment for both beginners and experienced DIYers.
If you’re serious about learning car maintenance, this wrench is essential.
Ready to Try Your First DIY Oil Change?
Doing your own oil change not only saves money but also gives you confidence in maintaining your vehicle. With the Hyper Tough Oil Filter Wrench, the process is smoother and less frustrating.
- Share your DIY oil change experience in the comments
- Tag your photos using #HyperToughDIY
- Subscribe to our blog for more auto maintenance guides