Headlights guide you through dark roads. Yet many drivers ignore their aim until beams blind others or leave shadows. Proper alignment boosts safety and visibility. According to the National Highway Traffic Safety Administration, misaligned headlights contribute to 10% of night crashes. A AAA study shows correct beam patterns cut pedestrian risks by 25%. This guide walks you through adjusting headlights left and right on your car. You gain clear steps, tools, and tips for any vehicle.
Why Headlight Alignment Matters for Safe Driving
Misaligned beams create dangers. They glare into oncoming eyes or dip too low, hiding pedestrians in time. Good alignment places the hot spot where you need it most.
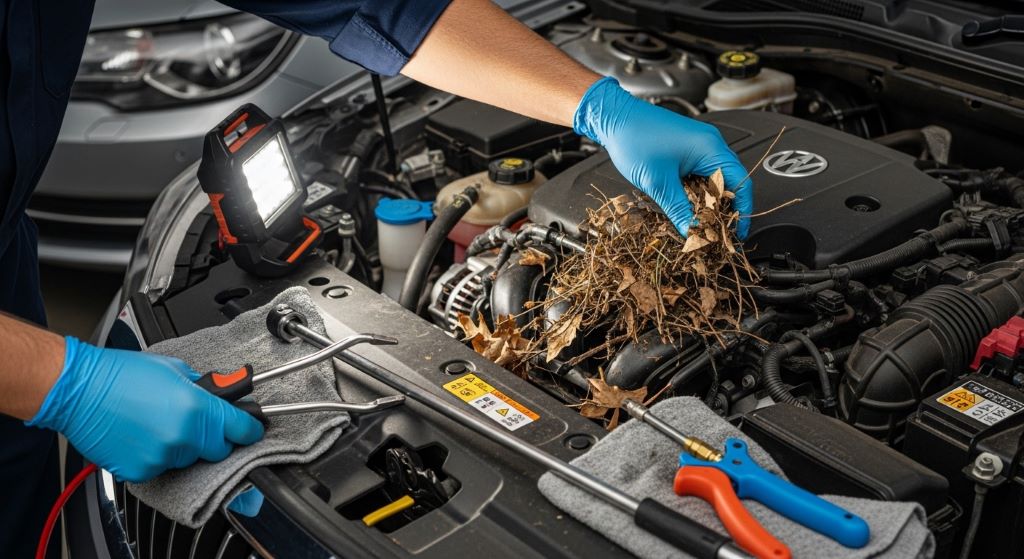
Drivers often overlook this task. However, heavy cargo or worn suspension components shift the beam pattern. Luxury cars with complex headlight lenses need precise tweaks too.
Safety standards demand beams hit specific marks. For example, federal rules require low beams to illuminate 75 feet ahead without blinding others. Vertical centerline alignment keeps light balanced.
Moreover, yellowed headlights scatter light oddly. Clean them first. Then adjust. This combo restores clarity.
Consider a real story. A friend loaded his trunk for vacation. Beams pointed skyward. Oncoming cars flashed warnings. Quick tweaks fixed it. Now he checks monthly.
Transitioning smoothly, regular checks prevent issues. Park on level ground. Measure from the ground to headlight lens center. Mark that height on a wall 25 feet away.
Tools You Need Before Starting Adjustments
Gather simple items first. You avoid mid-task runs to the store. Most tools sit in your garage already.
- Phillips or flathead screwdriver for adjustment screws
- Tape measure for exact distances
- Masking tape to mark wall lines
- Clean cloth to wipe headlight lenses
- Helper to sit in the driver’s seat (optional but useful)
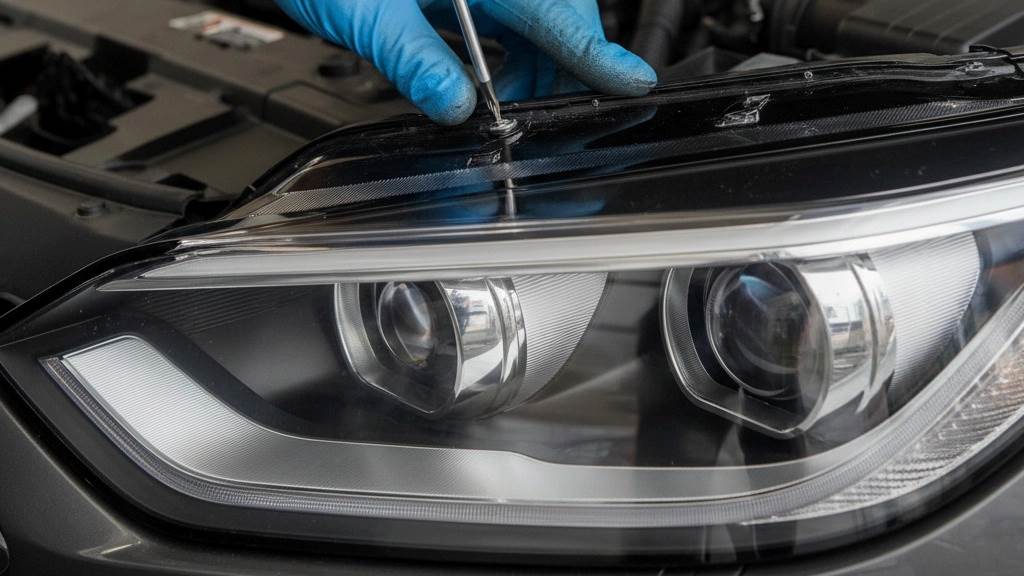
Furthermore, check your owner’s manual. It details screw locations. Some cars hide them behind the headlight assembly.
Next, ensure the car sits level. Inflate tires to spec. Remove extra weight. This step mimics normal driving.
Additionally, work at night or in shade. You see the beam pattern clearly. Hot spots appear sharp.
Moving forward, independent adjustment lets you tweak each side separately. Horizontal alignment controls left-right. Vertical handles up-down.
Step-by-Step Guide to Horizontal Headlight Adjustment
Horizontal tweaks fix left-right aim. Beams should point straight, not into ditches or traffic.
First, park 25 feet from a flat wall. Turn on low beams. Cover one headlight with cardboard. Focus on the uncovered side.
Locate the horizontal adjustment screw. It sits near the headlight assembly. Turn clockwise to move right, counterclockwise shifts left.
Watch the hot spot on the wall. It should sit dead center of the vertical tape line you marked earlier.
Repeat for the other side. Uncover the first, cover the second. Ensure both hot spots align.
For instance, if the driver’s side aims too far left, turn the screw clockwise. Small turns matter. Quarter rotations prevent over-correction.
After that, remove covers. Check both beams together. They form a symmetric pattern.
Consequently, test drive on a quiet road. Note if oncoming drivers flash. Readjust if needed.
Mastering Vertical Headlight Alignment
Vertical tweaks control height. Too high blinds others. Too low shortens your view.
Start with the same setup. Mark a horizontal line on the wall at headlight height minus 2 inches. This drop prevents glare.
Uncover one light. Find the vertical adjustment screw. Usually above or below the horizontal one.
Turn clockwise to lower the beam. Counterclockwise raises it. Aim the hot spot top at the marked line.
Switch sides. Keep adjustments even. Beam patterns should match.
Moreover, load the car with typical weight. Heavy cargo in the rear raises front beams. Adjust accordingly.
In one case, a truck owner added a trailer. Beams shot upward. Lowering via screws restored safe driving.
Thus, vertical centerline stays key. It runs through the hot spot center.
Common Mistakes and How to Avoid Them
Errors happen easily. However, awareness stops them cold.
One pitfall: adjusting on uneven ground. Beams seem off later. Always level the surface.
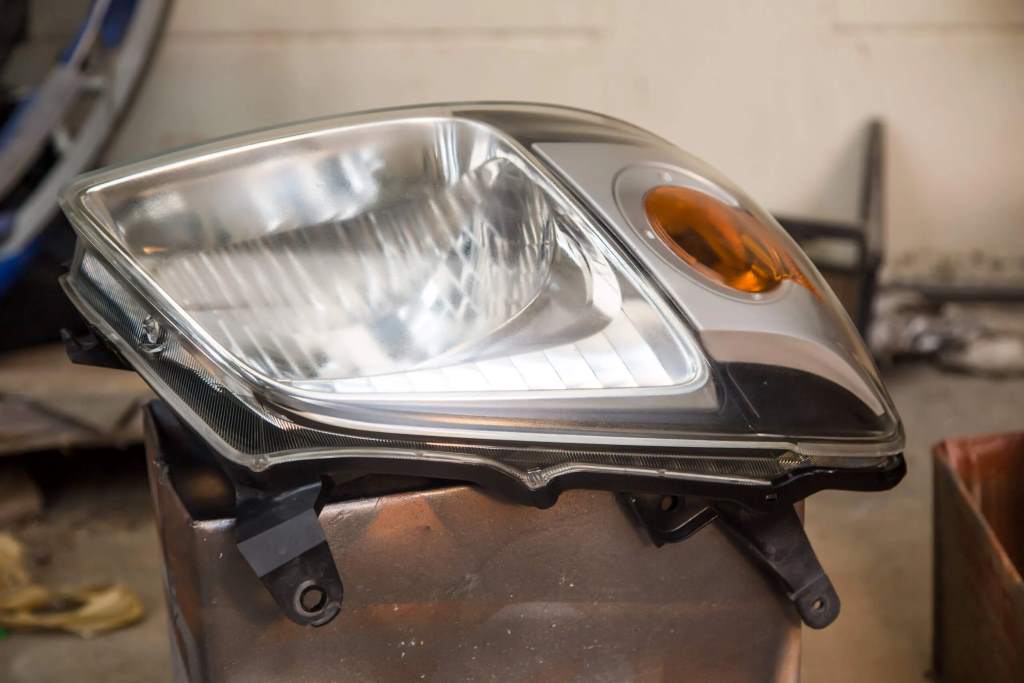
Another: ignoring headlight lenses condition. Cracked or yellowed ones distort patterns. Restore or replace first.
Also, rushing turns. Go slow. Check after each tweak.
Furthermore, forgetting high beams. Adjust lows first, then highs if separate.
Drivers sometimes mix screws. Label them mentally. Horizontal moves side-to-side only.
Additionally, solo adjustments strain eyes. A helper presses the brake to steady the car.
By avoiding these, you achieve pro results. Motoring tips like this save hassle.
When to Seek Professional Help from a Technician
DIY works for most. Yet some cases need experts.
Complex luxury cars feature auto-leveling. Tamper wrong, and systems fail. Visit the Motorama Service Department or similar.
If adjustment screws strip or seize, pros extract them safely.
Load levelling shock absorbers complicate things. They auto-adjust for weight. Manual tweaks interfere.
Signs of trouble: persistent misalignment post-adjustment. Or beam alignment issues despite clean lenses.
Professionals use laser tools for precision. They align to safety standards exactly.
For example, after a front-end bump, suspension components shift. Techs realign everything.
Therefore, know your limits. Pros ensure optimal setup.
Benefits of Properly Adjusted Headlights
Correct aim transforms drives. You spot pedestrians in time. Roads feel safer.
Visibility jumps. Beam patterns light 200 feet ahead clearly.
Moreover, you avoid tickets. Police check alignment in inspections.
Fuel efficiency ticks up slightly. Less swerving from poor light.
Friends notice your care. It sets an example.
In studies, aligned beams reduce night fatigue. Eyes strain less.
Overall, this simple task pays big. Safe driving starts here.
Advanced Tips for Beam Pattern Optimization
Go beyond basics. Fine-tune for perfection.
Clean headlight lenses monthly. Use toothpaste for yellowed headlights. Buff gently.
Upgrade bulbs if old. LEDs offer sharper hot spots.
Check alignment seasonally. Temperature affects suspension.
For heavy cargo hauls, invest in adjustable shocks. They maintain level.
Test on highways. Note cutoff lines. Sharp means good aim.
Share knowledge. Teach family. Everyone benefits.
These extras elevate your setup. Night drives become enjoyable.
FAQs
How do I find the adjustment screws on my car?
Open the hood. Look behind the headlight assembly. Screws sit on top or sides. Consult the owner’s manual for exact spots. They turn with a screwdriver.
What if my headlights have independent adjustment?
Treat each side separately. Cover one while tweaking the other. This isolates changes. Ensure both match after.
Can extra weight affect headlight aim?
Yes, heavy cargo raises the front. Beams point higher. Unload or adjust downward. Recheck when empty.
Why is the hot spot important in alignment?
The hot spot marks brightest light. Position it correctly for max visibility without glare. It centers the beam pattern.
When should I replace headlight lenses?
Replace if cracked or severely yellowed. Restoration kits help mildly foggy ones. Clear lenses improve beam focus.
References
- National Highway Traffic Safety Administration: https://www.nhtsa.gov/equipment/lighting
- AAA Foundation for Traffic Safety: https://aaafoundation.org/wp-content/uploads/2018/02/Headlight-Aim-Study.pdf
- Federal Motor Vehicle Safety Standard 108: https://www.federalregister.gov/documents/2012/12/04/2012-29144/federal-motor-vehicle-safety-standards-lamps-reflective-devices-and-associated-equipment