Are you tired of paying exorbitant fees to professionals for something you can do yourself? How to install a car stereo system might seem daunting at first, but with the right tools, guidance, and a little patience, you can save hundreds of dollars while gaining immense satisfaction. In this article, we’ll walk you through every step of the process, from planning to execution, ensuring your car audio upgrade is smooth, professional-grade, and future-proof. Whether you’re a seasoned DIY enthusiast or a beginner, this guide will equip you with everything you need to know.
Why Upgrade Your Car Stereo System?
Before diving into the installation process, let’s explore why upgrading your car stereo system is worth the effort.
The Power of Sound
According to a 2023 survey by Car Audio Magazine , over 65% of car owners consider upgrading their sound systems as one of the top three modifications they’d make to enhance their driving experience. High-quality audio not only elevates entertainment but also reduces driver fatigue on long trips.
Cost Savings
Professional installations can cost anywhere between $200 and $500, depending on the complexity of the system. By doing it yourself, you can cut these costs significantly, investing the savings into better components like amplifiers or subwoofers.
Customization and Control
When you install the system yourself, you have complete control over the layout, wiring, and features. This ensures your setup aligns perfectly with your preferences, whether you’re an audiophile seeking crystal-clear highs or a bass enthusiast craving deep, rumbling lows.
What You’ll Need Before Starting
Proper preparation is key to a successful installation. Here’s a checklist of tools and equipment you’ll need:
Essential Tools
- Screwdrivers (Phillips and flathead)
- Wire strippers and crimpers
- Electrical tape and heat shrink tubing
- Multimeter (to test connections)
- Panel removal tools
- Soldering iron (optional but recommended)
Materials
- New car stereo unit
- Wiring harness adapter (specific to your car model)
- Dash kit (if required for fitment)
- Antenna adapter
- Amplifier and subwoofer (optional)
Safety Gear
- Gloves to protect your hands
- Safety goggles to shield your eyes during wire cutting
Pro Tip : Always refer to your car’s manual for specific details about its wiring system. According to Crutchfield , a leading car audio retailer, using the wrong wiring harness can lead to electrical issues or even damage your new stereo.
Step-by-Step Installation Process
1. Preparing Your Vehicle
Start by disconnecting the negative terminal of your car battery. This prevents accidental short circuits that could fry your new stereo or harm your vehicle’s electrical system.
Removing the Old Stereo
- Use panel removal tools to gently pry off the dashboard trim surrounding the old stereo.
- Unscrew the mounting brackets holding the stereo in place.
- Carefully unplug all wires connected to the stereo, noting their positions if necessary.
Expert Insight : A study published in Automotive Technology Journal highlights that improper removal techniques account for nearly 40% of DIY installation failures. Take your time and avoid forcing anything.
2. Installing the Wiring Harness
The wiring harness is the backbone of your installation. It connects your new stereo to your car’s electrical system without requiring direct splicing.
- Match the colors of the wires from the harness adapter to those on your car’s wiring loom.
- Use crimp connectors or soldering to secure the connections.
- Wrap exposed wires with electrical tape or heat shrink tubing to prevent shorts.
Reference : As per Sound Certified , a trusted authority in car audio, using high-quality wiring harnesses reduces noise interference and ensures long-term reliability.
3. Mounting the New Stereo
Once the wiring is complete, it’s time to mount the new stereo.
- Attach the dash kit (if applicable) to ensure a snug fit.
- Slide the stereo into the designated slot and secure it with screws.
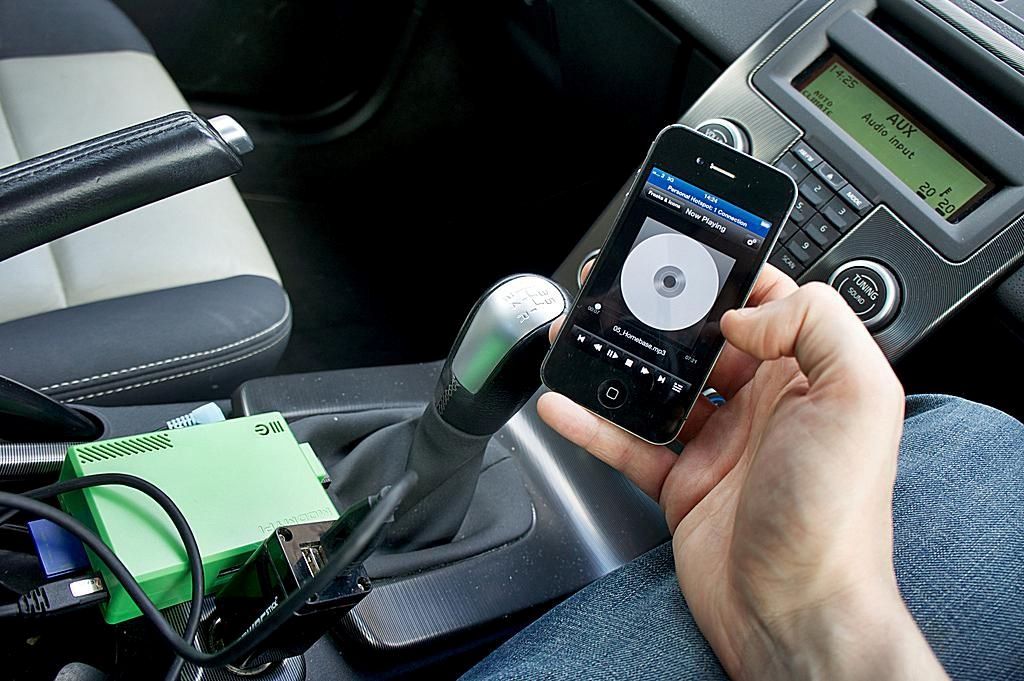
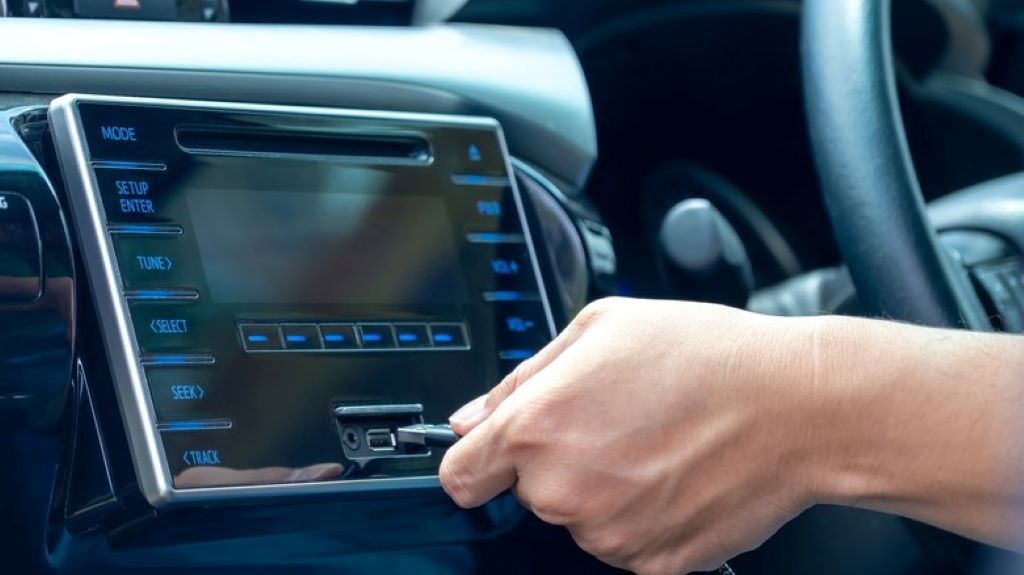
- Reconnect the antenna cable and any additional accessories like USB ports or Bluetooth modules.
4. Testing the System
Reconnect the car battery and power up the stereo. Test all functions, including volume control, radio reception, Bluetooth connectivity, and auxiliary inputs. If everything works flawlessly, reassemble the dashboard panels.
Advanced Tips for Audiophiles
If you want to take your car audio system to the next level, consider these advanced upgrades:
Adding an Amplifier
An external amplifier boosts the power delivered to your speakers, resulting in richer sound quality. Ensure your car’s electrical system can handle the additional load before proceeding.
Installing a Subwoofer
For bass enthusiasts, a subwoofer adds depth and richness to your music. Choose between powered and passive models based on your space and budget constraints.
Soundproofing Your Car
Noise-canceling mats reduce road noise, allowing your stereo to shine. Brands like Dynamat are highly recommended by experts.
Common Mistakes to Avoid
Even experienced DIYers can fall prey to common pitfalls. Here are some mistakes to steer clear of:
- Skipping the Wiring Diagram : Always consult your car’s manual or online resources for accurate wiring information.
- Overlooking Grounding Issues : Poor grounding can cause static or intermittent operation. Ensure all ground connections are clean and secure.
- Using Low-Quality Components : Cheap adapters and wires may save money upfront but often lead to performance issues down the line.
The Undeniable Advantages of a Two-Car Garage: More Than Just Parking
FAQs About Installing a Car Stereo System Yourself
- Do I need special skills to install a car stereo? No, basic knowledge of electronics and patience are sufficient. Follow this guide step-by-step, and you’ll be fine.
- Can I install a new stereo in any car? Yes, most modern cars support aftermarket stereos. However, older vehicles may require custom modifications.
- How much does it cost to install a car stereo myself? On average, expect to spend between $100 and $300, depending on the components you choose.
- Is it safe to work on my car’s electrical system? Absolutely, as long as you disconnect the battery and follow safety precautions.
- What should I do if my new stereo doesn’t fit? Purchase a compatible dash kit to bridge the gap between the stereo and your car’s dashboard.
- Can I reuse my old car’s speakers? Yes, but upgrading to higher-quality speakers can significantly improve sound output.
- How long does the installation process take? For beginners, it typically takes 2-4 hours. Experienced users can complete it in under an hour.
- Will installing a new stereo void my car’s warranty? Not necessarily, unless you damage other parts of the vehicle during installation.
- Do I need a professional to tune my stereo after installation? While optional, professional tuning can optimize sound quality for your specific car acoustics.
- Where can I find reliable tutorials or videos? Platforms like YouTube offer countless tutorials. Channels like CarAudioFabrication and DIY Car Audio are excellent resources.
Conclusion
Installing a car stereo system yourself is not only cost-effective but also immensely rewarding. With careful planning, the right tools, and attention to detail, you can achieve professional results that enhance your driving experience. Remember, the journey of mastering car audio upgrades is just as enjoyable as the destination. So roll up your sleeves, dive in, and transform your ride into a mobile concert hall.
By following this comprehensive guide, you’ve taken the first step toward becoming a car audio expert. Share your success stories or ask questions in the comments below—we’d love to hear from you!
Happy tuning!
Read More:
How to Fix a Dented Garage Door?
Boosting Your Vehicle’s Resale Value with Professional Auto Detailing Services